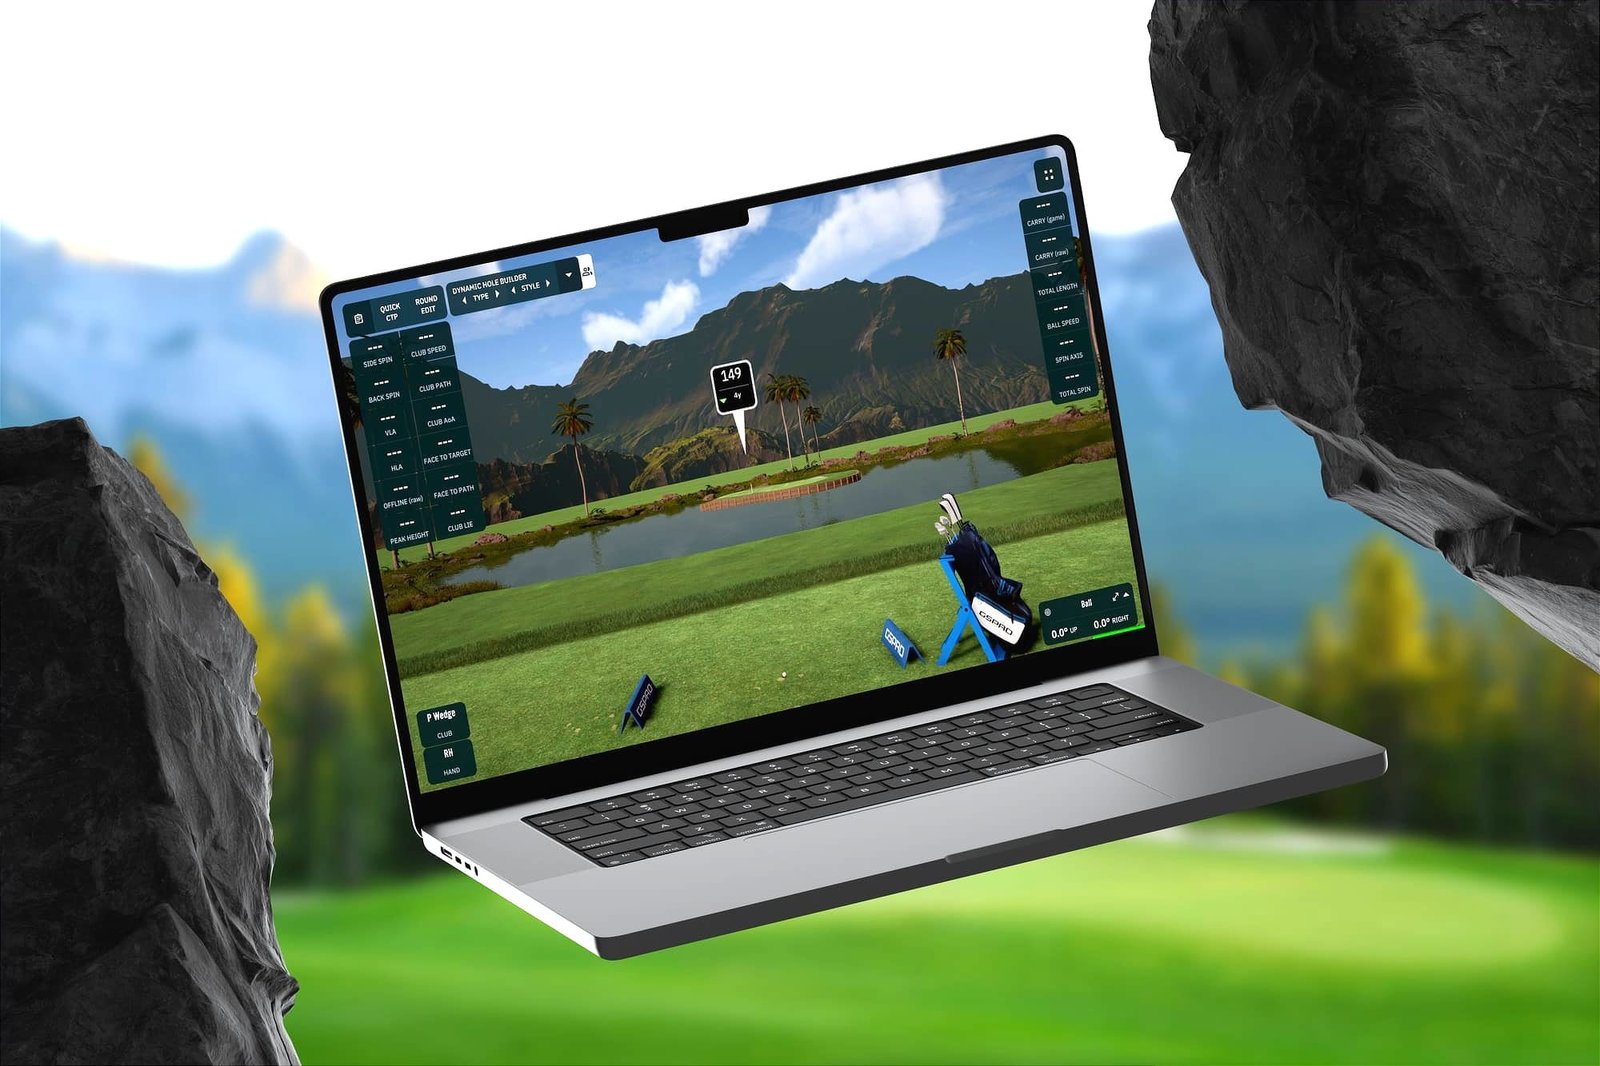
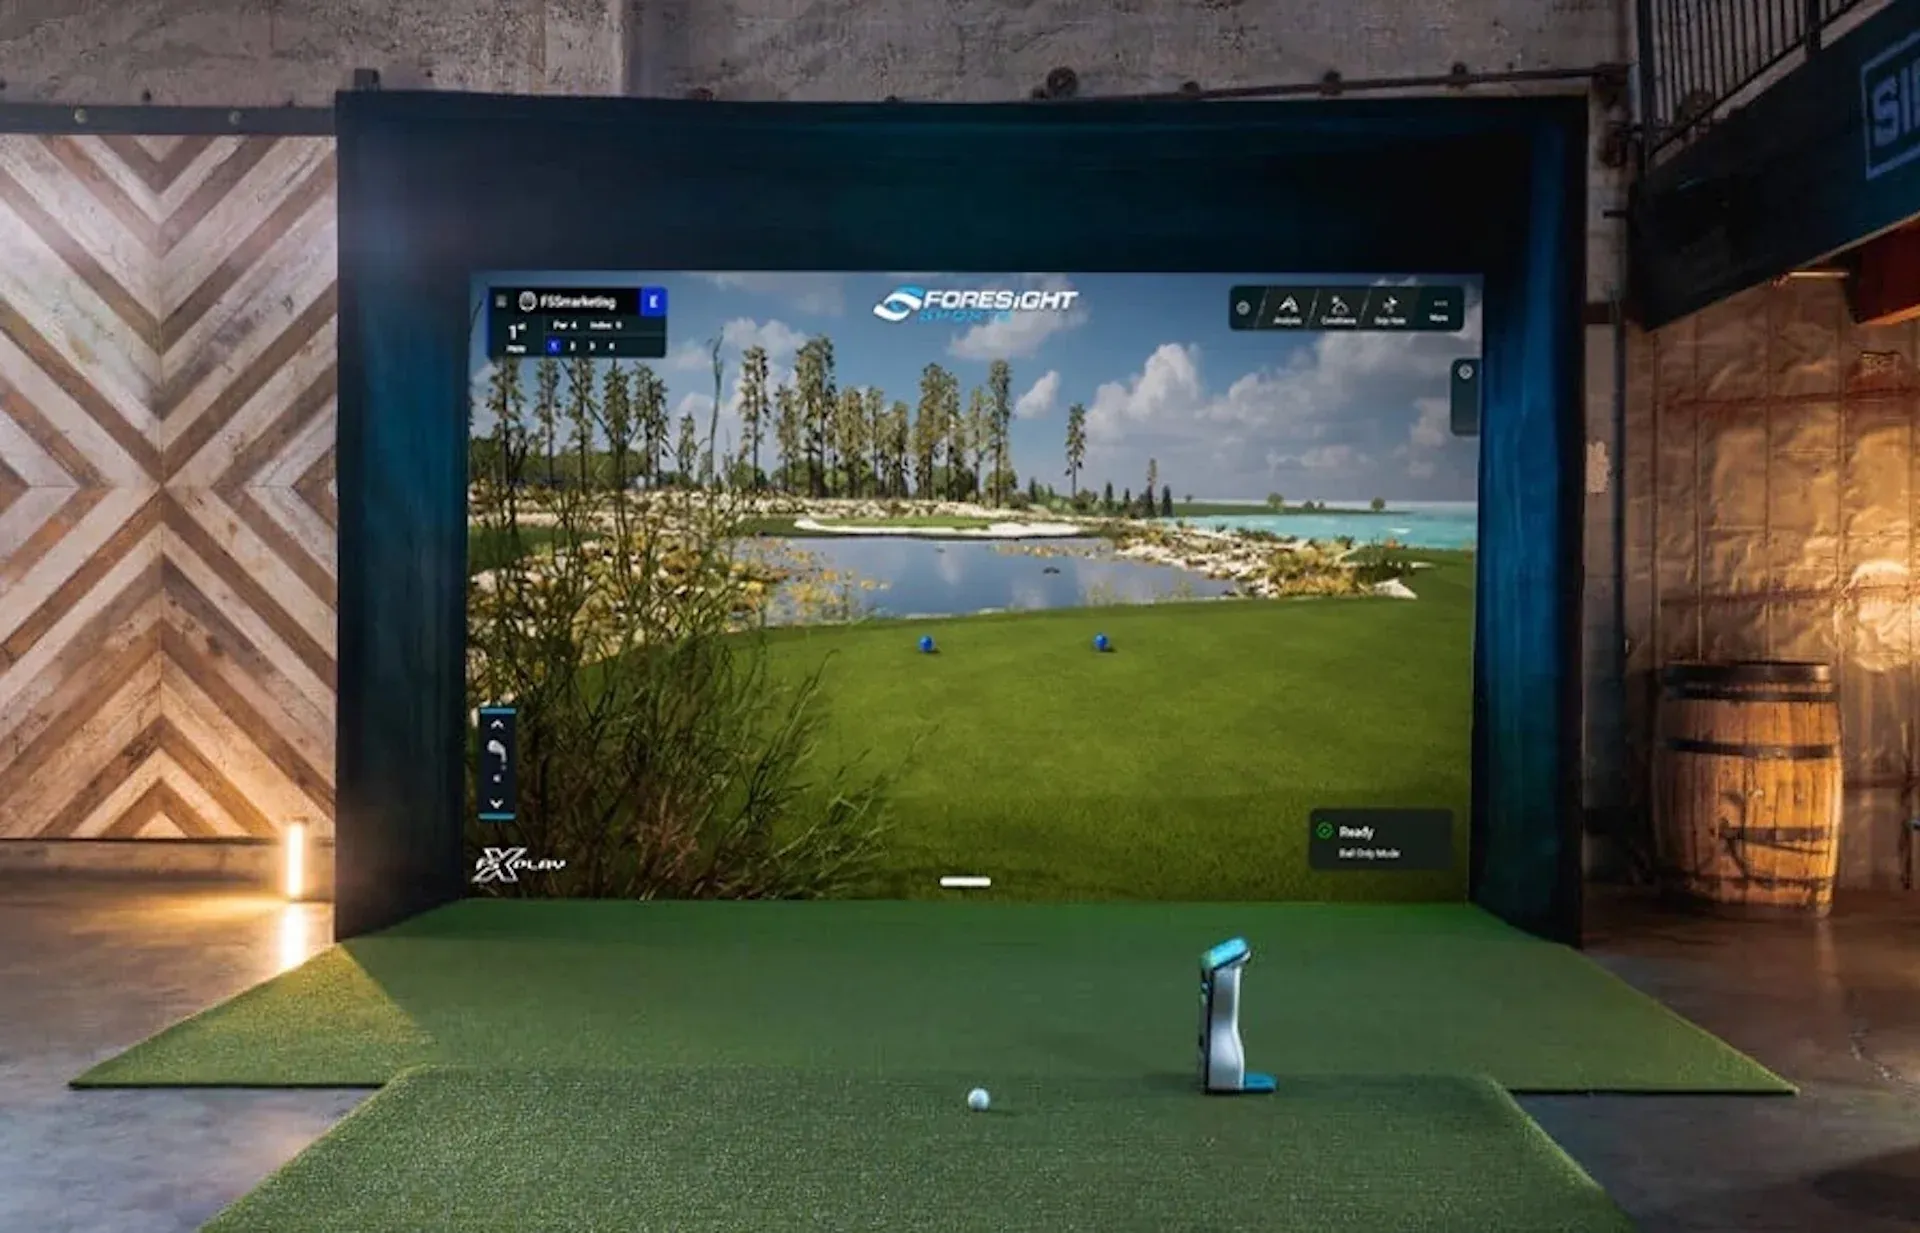
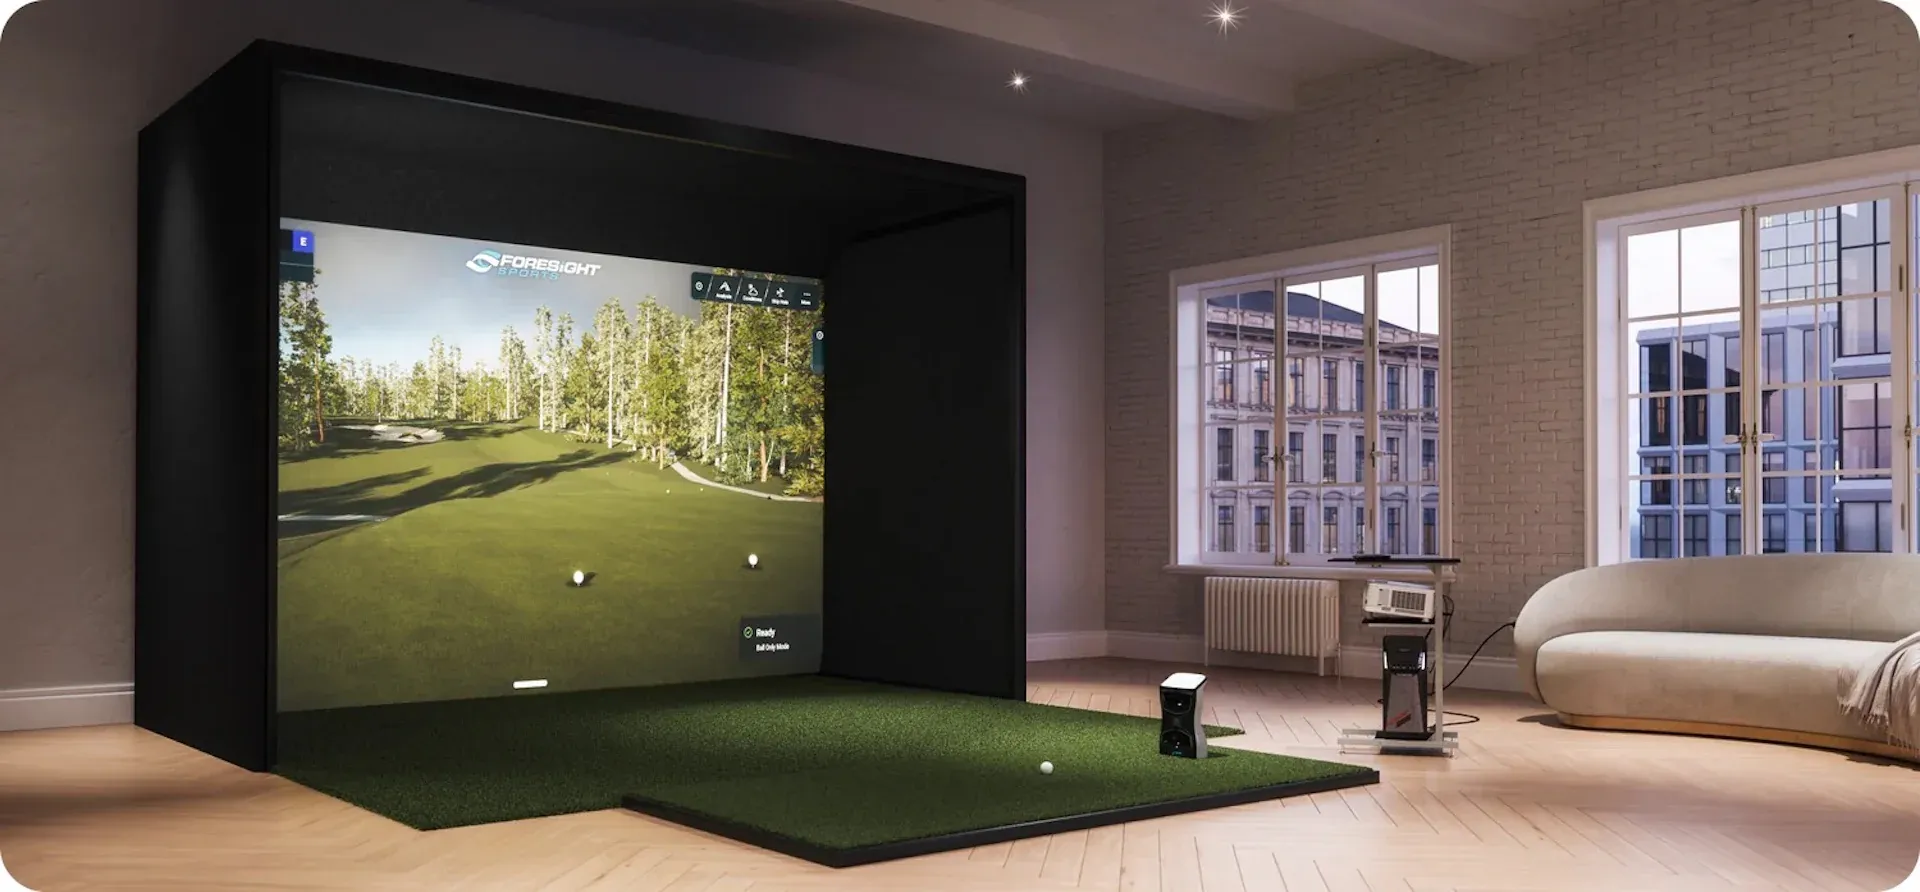
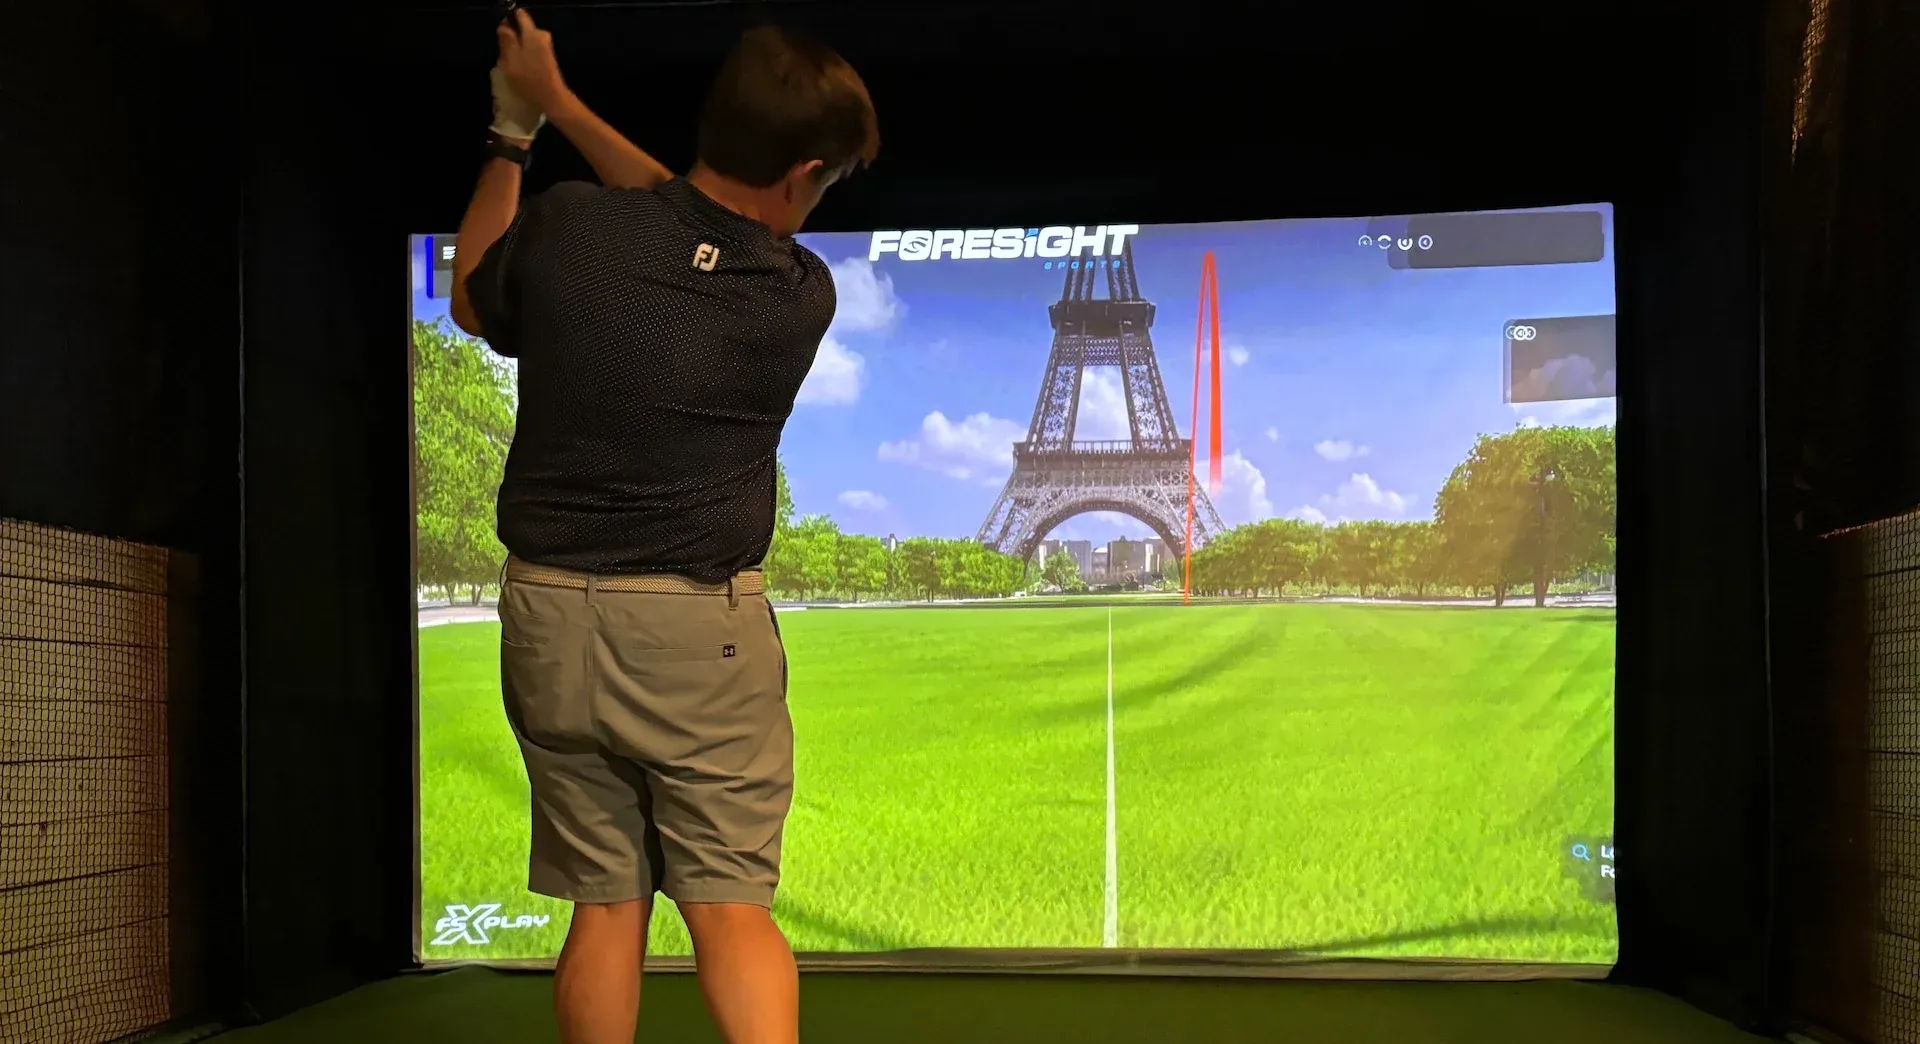
Projection mapping is quickly becoming the go-to trend for elevating golf simulator setups. Imagine having your key swing data—carry distance, spin rate, club impact replays—projected right onto your hitting mat. It’s an immersive way to integrate visuals directly into your training sessions, and it’s no longer reserved for high-end, pricey setups.
With a PC-based golf simulator, a second projector, and free software like OBS Studio, you can achieve stunning projection mapping without breaking the bank. Here’s how to bring this game-changing feature into your own simulator setup.
Why Projection Mapping?
Projection mapping adds a whole new dimension to your golf simulator, providing real-time feedback where it’s most relevant—on the mat in front of you. Whether you’re analyzing your swing or sharing data during friendly competitions, this feature enhances both performance and presentation.
Why It’s Worth It:
- Practical Feedback: See your performance metrics at a glance without shifting focus to a separate screen.
- Repurpose Old Equipment: Put an extra or older projector to good use.
- Elevated Experience: Turn your setup into a professional-looking, high-tech training tool.
What You’ll Need
- A PC-based golf simulator setup.
- An extra projector (any model works, but brighter, high-resolution options are better for clarity).
- Free OBS Studio software for capturing and mapping data.
Recommended Projectors
- BenQ TH671ST – $699 (Budget-Friendly)
- Optoma GT2000HDR – $1,299 (Mid-Range)
- BenQ LK936ST 4K UHD – $4,899 (Premium 4K Option)
Step-by-Step Guide to Projection Mapping
1. Download and Install OBS Studio
- Download OBS Studio for free from the official website. It’s widely used for screen capture but works perfectly for projection mapping.
2. Set Up OBS Studio
- Open OBS and create a new scene (e.g., “Projection Mapping”).
- In the Sources panel, click the
+icon and select Window Capture. Name the source something identifiable like “Data Display.”
3. Configure Window Capture
- Select the window you want to capture—for example, a TrackMan or GSPro driving range screen.
- Ensure the capture method is set to Windows 10 for compatibility, then click OK.
4. Adjust Display Settings
- Align your projector and monitor to the same aspect ratio and resolution to avoid display issues. This ensures your data projects clearly and without distortion.
5. Crop and Resize
- Hold the
ALTkey while dragging the edges of your captured window to crop it. Focus on displaying only the relevant metrics, like carry distance or total spin. - Resize the cropped window to fit your hitting mat.
6. Project the Scene
- Right-click your OBS scene and select Full Screen Projector (Scene).
- Choose the display output for your floor projector, and your data will be projected onto the mat.
Adding More Data Points
To project multiple metrics, repeat the window capture process for each data point:
- Create separate Window Capture Sources for additional metrics (e.g., “Spin Rate” or “Club Path”).
- Resize and crop each source, then position them where you want them on the mat.
- Use arrow keys for precise adjustments to ensure everything lines up perfectly.
Enhancing Visibility
Projection clarity is crucial, especially if you’re practicing in a well-lit space. Here’s how to fine-tune your display for better visibility:
1. Add Effect Filters
- Select your scene in OBS, then open Effect Filters.
- Use the Color Correction filter to adjust brightness, contrast, and saturation for optimal visibility on your mat.
2. Choose High-Lumen Projectors
- If your projector is struggling with brightness, consider a high-lumen model like the BenQ LH600ST or the Optoma ZH450ST for better performance in well-lit areas.
Personalize Your Display
Get creative with your projection setup:
- Add Logos or Animations: Capture a browser window using OBS to project logos, branding, or even video content.
- Experiment with Layouts: Position data, graphics, or other visuals to match your personal preferences or simulate a professional environment.
Finishing Touches
Fine-tune your setup for a polished look:
- Adjust filters, colors, and brightness until the display is crisp and professional.
- Test the alignment and visibility under different lighting conditions.
- Keep the data layout clean and organized to avoid clutter on the mat.
Final Thoughts: Take Your Golf Simulator to the Next Level
Projection mapping is an exciting, cost-effective way to make your golf simulator stand out. By repurposing an extra projector and leveraging free tools like OBS Studio, you can transform your hitting mat into an interactive, high-tech data display.
Not only does this setup enhance your training sessions, but it also brings a level of sophistication that’s sure to impress anyone who sees it. With a little effort, you’ll have a cutting-edge setup that rivals even the most expensive professional systems.
Ready to give it a try? Download OBS Studio, grab a projector, and start creating your own custom projection mapping display today. Your golf simulator deserves it!


